|
STEP BY STEP MATZA BAKING
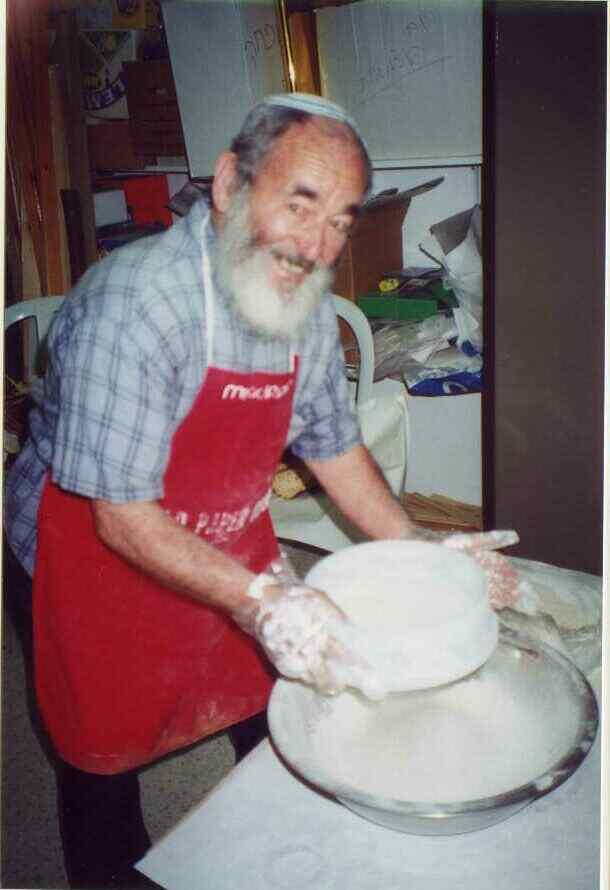
We kept the flour in a special room, known as the "cheder kemach" - flour room. The flour is weighed, and put in a clean plastic bag until it is needed. It's important not to mix too much flour and water, because during the preparation the dough can't be left alone. Someone should be working on it (whether it's mixing, kneading, rolling etc) at all times. If a large batch is prepared, part of the dough might sit untouched for a while because there aren't enough people to deal with the large batch. |
In the background you can see two of the rolling-pin crew ready. |
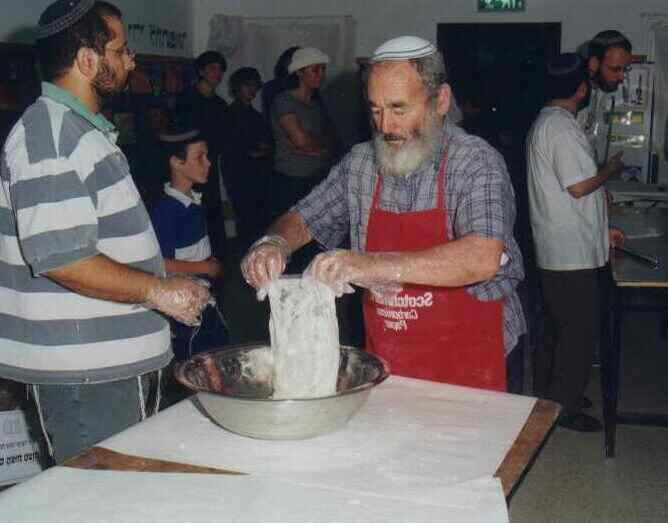
Pouring the flour into the mixing bowl The flour is taken out of the "flour room", and brought into the room in which most of the preparations are done. It's poured into the mixing bowl. The entire process of matza making must be completed within 18 minutes. During these 18 minutes several batches of matzas can be made. The 18 minutes begin only after the water is poured onto the flour. At this point all the people involved are saying "l'shem matzat mitzvah", meaning that all the work involved in preparing these matzas are being made with the intent that they can be used to fulfill the mitzvot of Pesach which involve matza. During the 18 minutes several batces of matza can be made, but once 18 minutes are up all work ceases. All tables and utensils are thoroughly cleaned to make sure that no dough is stuck on them. The wooden poles used to carry the matza to the oven are sanded. When everything is ready, another measure of flour is brought out, placed in a clean, dry bowl, water is added, and... the 18 minutes start all over again. In the picture on the left, you can see the singing going on in the background while the work begins. Here the people are singing "l'shem matzat mitzvah" (to keep in mind that these matzas are being made for the mitzvah of eating them at the seder). It is customary in many places to sing parts of "Hallel" while preparing matza. |
Mixing the flour and water The flour and water have to be mixed quickly, but thoroughly. Now that the clock has started ticking, it's important to keep things moving as quick as possible. On the other hand, it's worthwhile to be thorough, so that the dough will be easier to handle later in the process. |
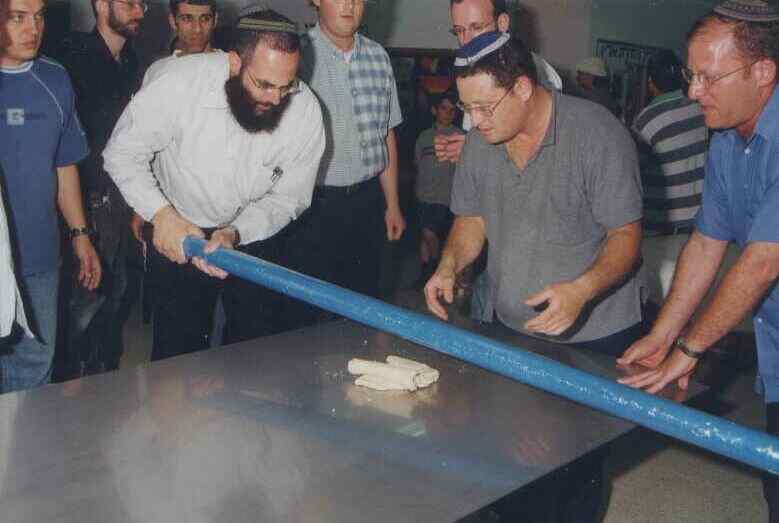
Pounding the dough This stage can be done in several ways. We chose the brute force method. The dough is already on well on its way but still in need of some heavy kneading before it can be cut up and rolled into circles. It is pounded into subservience. We used a heavy iron pipe, covered with a double layer of plastic for this. The pipe was held on opposite sides of the table by two people, while a third stood at the head of the table. After the dough was flattened out by the pounding, the person at the head of the table would fold it up again and the process was repeated. |
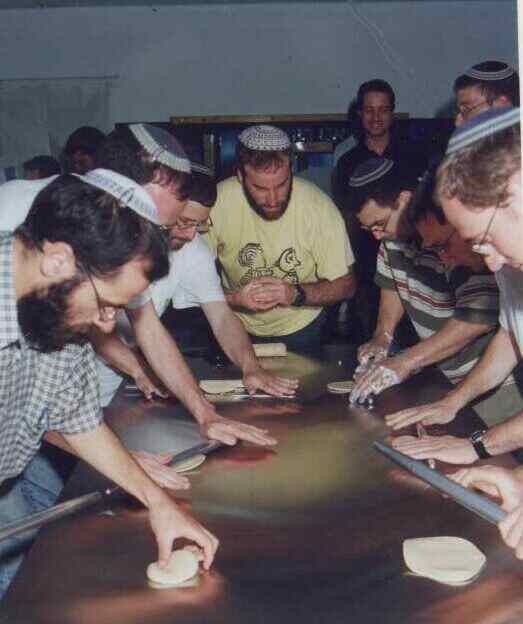
Cutting the dough into pieces, and passing it out to the rolling-pin crew You can see the person at the head of the table cutting the roll of dough into about six pieces, each given to one of the six people lined up at the table (in this picture you only see one side of the table). Special easy to clean aluminum rolling pins are used. It's important to roll the dough until it is quite thin, otherwise it tends to puff up in the oven, something which we try very hard to avoid. |
Using rolling pins, pieces of dough are flattened and shaped (roughly) One of the problems with flattening the dough until it's very thin, is that it then sticks to the table. For normal baking purposes, flour is used to prevent sticking, but when preparing matza no flour may be added. The sticking can be partially avoided by flipping the matza over after each roll of the rolling pin. |
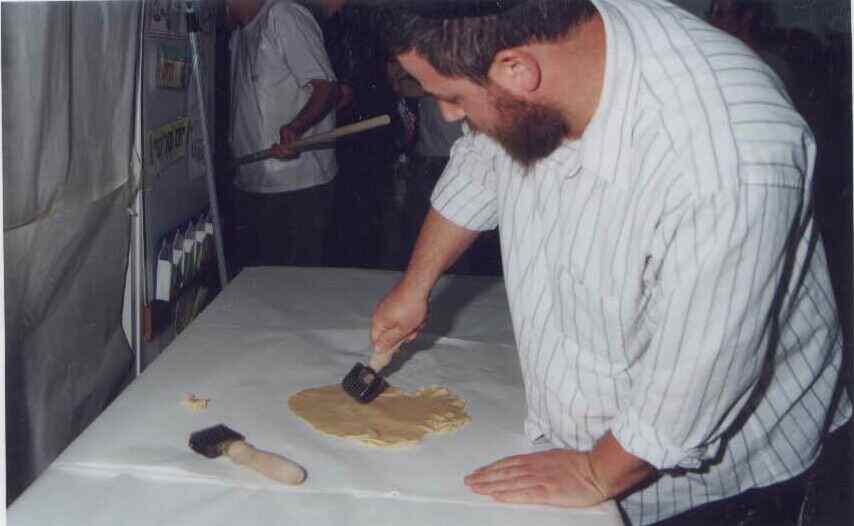
The shaped matzas are perforated using a rolling perforator, known as a "redler" (Yiddish) The reason hand and machine matzas are perforated is so that no air pockets will develop in them while they're in the oven. In the background you can see someone holding one of the wooden polls which will carry the matza out to the oven. |
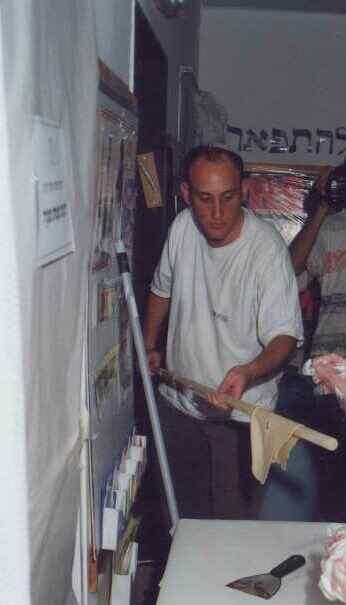
Taking the matza to the oven The matza is draped over a wooden pole, and taken out to the oven. Note that the oven is not in the room where the matza are prepared. The heat of the oven might cause the dough to become chametz, therefore the oven is kept away from the area where the matzas are prepared. The person carrying the draped matza outside must verify that there is room in the oven before he brings the matza outside, close to the oven. |
Matza goes in and out of oven The actual baking goes very quickly. Here you see one person placing a matza in the oven, right after another one was taken out. If the matza is thin and perforated a good matza should come out of the oven. Matzas may not touch each other in the oven. While a plain wooden pole is used to place the matza in the oven, a pole with a flat attachment at the end is used to take the matza out. The matza has to be in the oven before 18 minutes are up. |
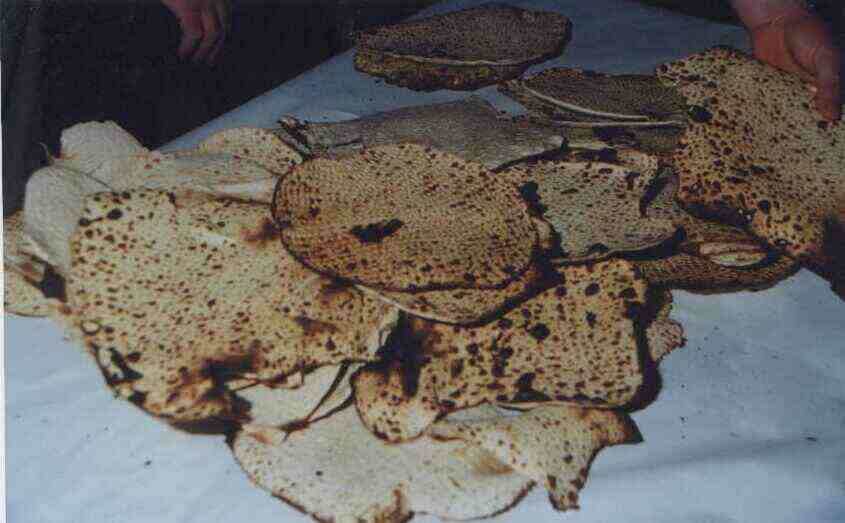
Supervisor (mashgiach) checks to make sure the matza was baked properly Our rabbi, Rabbi Brachyahu shlit"a checked each of the baked matzas to make sure they were properly baked. Sometimes bubbles develop on the face of the matza, or there is a fold in the matza. Another problem is if the matza is still soft, indicating that it might not have been fully baked. These problems can render the entire matza chametz (or "safek" chametz). |
Matza is ready to eat... One may not eat matza the entire day preceding the seder night. Some have a custom not to eat matza from the beginning of the month of Nissan, or 30 days before Pesach. |